
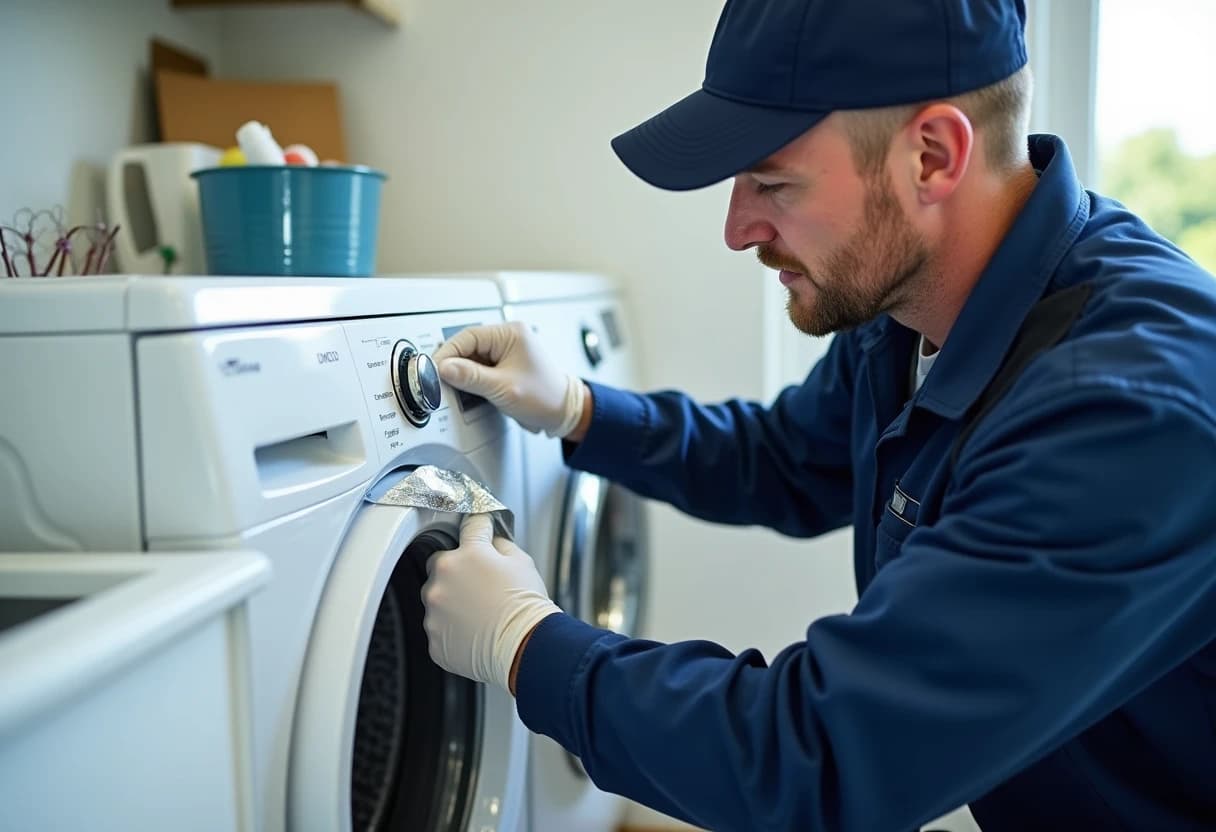
A dryer vent that is crushed, disconnected or leaking cannot be fixed by cleaning — it needs repair. Our Greater Boston dryer vent repair service restores the exhaust path itself: reconnecting joints that have pulled apart inside walls and ceilings, replacing crushed or kinked sections with smooth rigid metal duct, sealing leaks with proper metal foil tape, and rebuilding exterior hoods whose dampers have broken or rusted shut. Every repair uses code-compliant materials and methods — 4-inch rigid metal, clamped connections with no screws intruding into the airstream — so the finished vent moves full airflow, keeps moisture out of your walls, and stops feeding lint into places it should never go.
That flattened foil hose behind your dryer is doing more damage than it looks. Crushed transition ducts are the most common dryer vent failure we find in Greater Boston homes — the machine gets pushed back against the wall, the accordion hose collapses to a fraction of its diameter, and the dryer spends years straining against a pinched exhaust while lint packs the kink. We replace these hazards with semi-rigid aluminum connectors and repair everything downstream too: separated joints, sagging runs, holes rusted through duct walls, and exterior hoods that no longer close against weather and pests. Done right, with the materials the code requires, a repaired vent runs trouble-free for decades.
Why Dryer Vent Repair Matters
A damaged dryer vent fails on three fronts at once, and all three get worse with every load. Safety first: a disconnection or breach releases lint — one of the most flammable materials in a home — into wall cavities, ceilings and basements, where it accumulates near framing with no way to remove it, while the restriction at the damage point drives up exhaust temperatures exactly the way fire investigators describe in the roughly 2,900 US dryer fires each year. Moisture second: every load pushes about a gallon of water vapor through the vent, and a leak delivers it into building materials instead of outdoors — wet insulation, mold-friendly wall cavities, stained ceilings, rotted subfloor around the laundry. Performance third: crushed and separated ducts strangle airflow, stretching drying times and energy bills while overheating the appliance. Cleaning cannot fix any of this; the duct itself is broken. A proper repair — rigid metal, sealed joints, verified airflow — resolves all three failure modes in a single visit, usually for $150 to $450.
The materials in your dryer vent matter as much as its condition, and much of Greater Boston's housing stock carries materials that should never have been installed. White vinyl accordion hose — sold for decades and still lurking behind older dryers — is a documented fire hazard: it melts, its ridges pack with lint, and manufacturers and codes alike have disowned it. Thin foil accordion duct is only marginally better, crushing at a touch and snagging lint on every corrugation. Long concealed runs of flex duct, plastic terminations, screen-covered hoods that mat over with lint, and duct-taped seams round out the list of what we routinely find and replace. Modern code — the IRC's dryer exhaust provisions — calls for smooth-interior rigid metal duct, joints without protruding fasteners, and a proper damper-equipped termination, because decades of fire data show those details are where dryer venting goes wrong. Repairing with compliant materials is not bureaucratic box-checking: it is the difference between a vent that needs annual cleaning and a vent that builds a new hazard every year.
How Our Dryer Vent Repair Process Works
1Diagnose the Full Exhaust Path
Repair starts with finding every failure, not just the obvious one. We trace the duct from the dryer's outlet to the exterior termination, inspecting each accessible section and joint, and test airflow at both ends with the dryer running. Weak exterior flow with strong drum heat means the exhaust is escaping en route — and we find where.
2Protect the Area & Open Access
Before repair work, we protect floors and finishes along the work path, move the dryer out carefully on sliders, and set up at the failure points. Where a concealed joint requires access, we discuss options first — many repairs can be made from existing openings, and when cutting is unavoidable we keep openings minimal and tell you exactly what restoration will involve.
3Reconnect & Properly Fasten Separated Joints
Separated joints are rejoined the way code intends: sections fitted male-to-female in the direction of airflow, secured with clamps or mechanical fasteners that do not pierce the airstream, and sealed with UL-listed metal foil tape — never fabric duct tape, which heat destroys, and never screws through the duct wall, whose tips become lint hooks inside the pipe.
4Replace Crushed, Corroded or Non-Compliant Sections
Duct that is crushed, kinked, rusted through or made of prohibited material gets replaced, not patched. We install 4-inch smooth-interior rigid metal duct — the material the IRC's dryer exhaust rules specify — cut to fit, joined without airstream-piercing fasteners, and supported so it cannot sag into water-pooling bellies.
5Cure Condensation: Slope, Seal & Insulate
Condensation repairs follow the water. We restore continuous slope toward the termination so condensate drains out instead of pooling; seal the joints it has been leaking through with foil tape rated for the duty; and insulate duct sections crossing unheated basements, garages, attics and exterior wall bays so exhaust stays above its dew point until it exits.
6Repair or Replace the Exterior Hood & Damper
Failed terminations get quality metal replacements: a hood sized to the 4-inch duct with a free-swinging damper that opens fully under airflow and closes tight against weather and pests. Screened hoods — a code violation on dryer vents because mesh mats over with lint — are replaced with proper damper-and-guard designs made for dryer exhaust.
7Replace the Transition Duct & Reset the Dryer
The appliance connection is rebuilt to spec: a UL-listed semi-rigid aluminum transition duct, as short and straight as the layout allows, secured with clamps at both ends. We position the dryer so the connector keeps its full diameter — not crushed against the wall — and mark the safe distance so future pushes do not recreate the old kink.
8Verify Airflow & Document the Repair
The proof is at the hood: with the dryer running, the damper should stand fully open under a strong, steady exhaust stream. We verify it together, compare against the pre-repair condition, and confirm no leakage remains at any repaired joint. Then the work area is cleaned, the dryer set, and the laundry room returned to service.
Benefits You Can Expect
A Serious Fire Hazard, Eliminated
A breached or restricted dryer vent combines the two ingredients of the roughly 2,900 annual US dryer fires: accumulating lint and rising exhaust temperatures. Repair removes both — the escape points that seed wall cavities with fuel, and the crush points and blockages that overheat the system. It is fire prevention with a wrench, and it lasts for decades.
Moisture Out of Your Walls and Ceilings
Every load of laundry exhausts about a gallon of water. A repaired, sealed vent delivers all of it outdoors; a leaking one delivers it into insulation, framing and drywall. Stopping that daily soaking is the benefit homeowners feel longest — no more spreading stains, peeling paint, mildew odors or the mold remediation bills that chronic wall moisture eventually writes.
Restored Drying Performance
A crushed or separated duct throttles airflow just like a lint clog, and no amount of cleaning fixes it. Repair restores the full 4-inch path, and drying performance returns immediately — one-cycle loads, accurate sensor-dry behavior, and a machine that stops straining against backpressure it was never designed to fight.
Lower Energy and Repair Bills
A dryer fighting a damaged vent runs longer per load and hotter per minute — both metered directly on your utility bill, often $10 to $20 a month for a busy household. Repair returns cycles to design length. The savings recur every laundry day, quietly repaying the one-time repair cost within the first year or two.
Code Compliance & Inspection-Ready Documentation
Dryer venting is a standard flag on Massachusetts home inspections: vinyl flex, taped joints, screened hoods and overlong runs all appear in reports and complicate sales. Our repairs bring the system to current code — rigid metal, compliant joints, proper termination — with photo documentation that answers inspector and buyer questions before they are asked.
Pest Entry Points Closed
A dryer vent with a failed damper is an open, warm, sheltered 4-inch doorway — irresistible to birds, squirrels and mice, whose nests then block the duct and whose presence contaminates it. Repairing the termination closes the doorway with a damper and guard designed for dryer exhaust, ending the nest-remove-repeat cycle for good.
Decades of Reliable Service From One Repair
Done with rigid metal, mechanical fastening and a quality termination, a dryer vent repair is not a patch — it is infrastructure. Properly installed rigid duct routinely outlasts the dryers connected to it, needing only annual cleaning. The failure-prone materials and joints that caused your problem simply are not there anymore.
Warning Signs to Watch For
Lint Appearing Where It Shouldn't
Lint drifting from a basement ceiling, gathering on joists, puffing from a wall register or collecting behind the dryer means exhaust is escaping the duct before the termination. Lint marks the leak like dye in water — follow it and you find the separated joint or breach. This is a repair call, not a cleaning call, and it should not wait.
Water Stains, Drips or Peeling Paint Near the Vent Path
A ceiling stain below a second-floor laundry, paint bubbling behind the dryer, or drips from a basement duct joint all point to exhaust moisture escaping or condensing in the run. Each load adds another gallon of vapor to the problem. Repair — sealing, sloping, insulating or replacing the affected section — stops the source; cosmetic fixes without it just repaint the symptom.
Musty or Mildew Smell in the Laundry Area
A persistent damp smell around the laundry — or in one adjacent wall or ceiling — often means exhaust moisture has been feeding hidden mildew via a leak or chronic condensation. The odor is the nose's report on a moisture problem the eyes cannot see. A vent-path inspection locates the escape point, and repair dries up its food supply.
Slow Drying That Cleaning Didn't Fix
If a vent cleaning did not restore drying performance, the airflow restriction is structural: a crushed section, a collapsed inner liner, a separated joint dumping exhaust short of the hood, or a damper that cannot open. The next step is diagnosis, not another cleaning — we trace the path, find the mechanical fault, and quote its repair flat.
Visibly Damaged, Kinked or Sagging Duct
Trust your eyes: a transition hose flattened behind the dryer, a dented or crushed section in the basement, duct sagging between supports into a low belly, or a run held together with fabric duct tape are all failures in progress. Each restricts airflow, collects lint and moisture, and worsens with time. Photograph what you see and call — the quote is quick.
Exterior Damper Broken, Stuck or Missing
Look at the hood outside: a damper flap hanging loose, rusted stiff, cracked off, painted shut or missing entirely is a failed termination. Stuck open, it drains heat and admits pests all winter; stuck shut, it blocks the vent completely. Either way the fix is a proper replacement hood — one of the fastest, most cost-effective repairs on our list.
A Home Inspection or Appliance Tech Flagged the Vent
Inspection reports flag dryer venting constantly in Massachusetts: vinyl flex, taped or screwed joints, screened hoods, overlong concealed runs. Take the flag seriously — inspectors see the aftermath of ignored vents — and bring us the report. We translate findings into a flat-priced repair scope and documentation that closes the issue for buyers, sellers and insurers.
Dryer Vent Repair Cost in the Boston Area
Dryer vent repair in Greater Boston typically runs $150 to $450, and the spread is about what failed and where. At the low end: transition hose replacement with a compliant semi-rigid connector, exterior hood and damper replacement, or reconnecting an accessible separated joint — each roughly $150 to $250 including parts. Mid-range, $250 to $350, covers replacing damaged duct sections with rigid metal, curing condensation with re-sloping, sealing and insulation, or repairs involving moderate access work. The top of the range, $350 to $450, reflects concealed-joint repairs requiring access openings, multi-failure jobs combining several fixes, corroded runs needing substantial replacement, or difficult terminations on upper walls and roofs. Every quote is flat and follows a diagnosis you can see — photos of the actual failure — so you know what you are paying to fix. If damage is extensive enough that full replacement or rerouting makes better sense than repair, we say so and quote that option separately rather than selling repairs onto a duct that has reached its end.
A few pricing notes specific to property types. Condos and multi-family buildings often carry modest premiums for access — roof terminations several stories up, shared ceiling cavities, association scheduling — but also qualify for meaningful savings when multiple units repair together: a building-wide visit spreads travel and setup across units, and associations get a single documented scope for their records. Triple-decker owners repairing all three units' venting at once routinely save 20 to 30 percent versus separate visits. Older single-family homes sometimes surprise in the other direction: what looks like a major concealed failure turns out to be an exposed basement run fixable at the bottom of the range. This is why we diagnose before quoting rather than pricing sight-unseen over the phone — the range we can give you by phone is honest ($150 to $450 covers the vast majority of Greater Boston-area repairs), but the flat number you approve comes after a technician has actually seen the failure and photographed it.
Seasonal Considerations in New England
Winter exposes dryer vent damage that hides all year. Joints that leak slightly in summer drip visibly when exhaust moisture condenses hard against freezing duct; marginal dampers ice shut; snow buries grade-level hoods; and the season's heavy laundry loads push maximum moisture through every weak point. Massachusetts repair calls spike from December through February for exactly these reasons — and because a blocked or leaking vent in a sealed-up winter house sends its moisture and, for gas dryers, combustion byproducts into air that will not be refreshed until spring. If your vent showed symptoms last winter, repairing it in fall is the calm, scheduled alternative to an emergency call during a January cold snap with a full laundry basket waiting.
Why Boston Air Duct Cleaners
Boston Air Duct Cleaners is a local, owner-operated company based at 1121 Washington St in West Newton — not a national franchise dispatching subcontractors. Every crew is our own: background-checked, factory-trained on commercial negative-pressure equipment, and fully insured. We quote flat prices before work begins, document every job with before-and-after photos, and follow NADCA-standard source-removal methods on every system we touch. That is why so much of our work comes from repeat customers, property managers and word-of-mouth referrals across Greater Boston.